VNC-Based Methods
Compatibility
All VNC-based remote visualization solutions use TurboVNC as the VNC server and VirtualGL or Mesa3D for OpenGL rendering.
JupyterHub Desktop
This solution allows you to get access to a remote desktop through a common web browser. No dedicated client installation is required. The default desktop environment is GNOME Shell.
Warning
Jupyter Desktop currently only supports software-based OpenGL rendering and doesn't use GPUs for hardware acceleration.
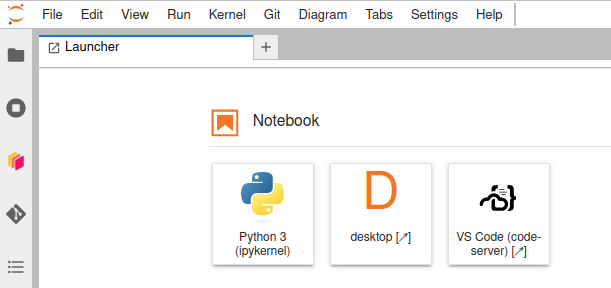
To log into the JupyterHub system and start a Desktop session, follow the instructions in the JupyterHub section, select the JupyterLab-Basemodule jupyter/extensions in the resource selection dialogue, and then click on Desktop.
The JupyterHub Desktop session will continue to run on the cluster if the browser window is closed, and will automatically be reconnected on the next JupyterHub login. If you do not explicitly close the desktop session before closing the browser window, it will keep consuming resources until the runtime limit chosen during resource selection is reached and the session is terminated by the batch system.
start_vnc_desktop
start_vnc_desktop is a custom-made script developed specifically for the HPC systems at SCC. It provides the same functionality as the JupyterHub Desktop session, but supports more advanced use cases (e.g. hardware-accelerated OpenGL rendering).
Usage
The start_vnc_desktop script has to be executed on a login node:
| Option | Meaning |
|---|---|
-n |
Number of nodes to allocate |
--ppn |
Number of processors to allocate on each node |
--num-gpu |
Number of GPUs to allocate on each node |
-q |
Batch partition/queue to submit the job to |
-t |
Walltime limit for the session |
--hw-rendering |
Use hardware-accelerated OpenGL rendering on GPU(s) |
--sw-rendering |
Force software-based OpenGL rendering on GPU(s) |
By default the script will allocate a single node without any GPUs.
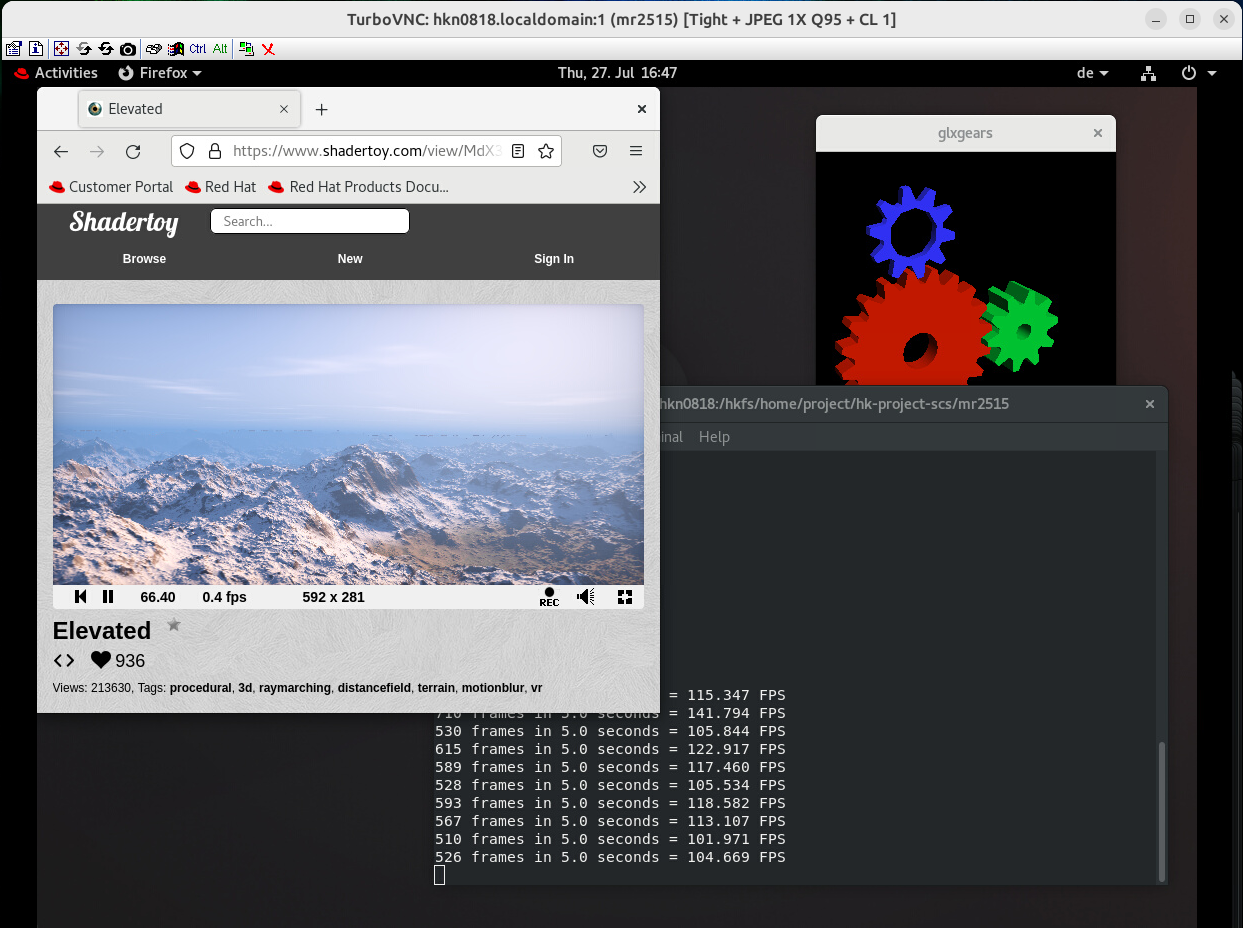
As soon as the requested resources have been allocated, start_vnc_desktop will set up everything necessary on the allocated node(s) and output instructions on how to connect to the new desktop session using a VNC client.
Session lifetime
start_vnc_desktop uses salloc to allocate the visualization nodes. After the script has set up everything and output instructions on how to connect, you will be dropped into a shell on one of the allocated compute nodes. If you log out of this shell, the allocated job and therefore the whole remote desktop will be terminated. To log out of the system completely, you therefore have to type exit twice.
TurboVNC
The currently recommended client is TurboVNC. It has a built-in gateway feature that supports SSH as a gateway, which is necessary because compute nodes cannot be reached directly from outside the cluster — the connection must be routed through a login node.
The steps for connecting depend on the operating system and setup on the client side:
Linux Terminal (preferred)
This is the quickest and most convenient option. Open a Terminal and execute the command line provided by the start_vnc_desktop script in the "Hint for TurboVNC Viewer users (command line)" section, which looks like:
/opt/TurboVNC/bin/vncviewer ExtSSH=1 Via=user@hk2-x86.scc.kit.edu Server=<server>:1 Password=<password> SecurityTypes=VNC
TurboVNC uses your local SSH client to log into HoreKa 2. You will see the familiar prompts for your One-Time Password and service password, followed by the prompt for the one-time VNC password generated by start_vnc_desktop, after which the VNC connection starts.
Windows/Mac/Linux GUI
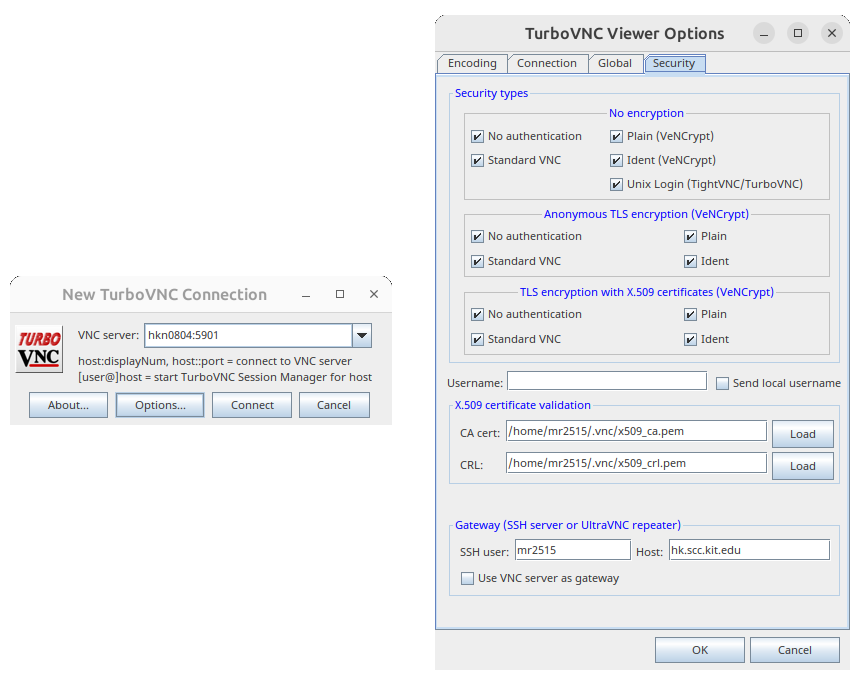
Start the TurboVNC client using the application launcher and follow the instructions in the "Hint for TurboVNC Viewer users (GUI)" section of the start_vnc_desktop output. Fill in all required fields in the GUI client (see image below) and click Connect. You will then see the familiar prompts for your One-Time Password and service password, followed by the prompt for the one-time VNC password, after which the VNC connection starts.
Windows/Mac Terminal
The command line from the "Hint for TurboVNC Viewer users (command line)" section also works on Windows and Mac, but you have to replace the path to the binary with the location where TurboVNC was installed, which differs depending on system language settings and installation choices. On an English-language Windows installation the path is typically "C:\Program Files\TurboVNC\vncviewer.bat".
Internal vs. external TurboVNC SSH client
Depending on your TurboVNC client version and operating system, the GUI might not work as expected. You may want or even have to force TurboVNC to use the operating system's own SSH client instead of its built-in one. This cannot be done via the GUI — it can only be set on the command line by passing ExtSSH=1, as shown in the Linux Terminal example above.
Other VNC clients
The connection information output by start_vnc_desktop is also sufficient for other VNC clients. Since most other clients do not have a built-in SSH gateway, port forwarding must be set up manually:
-
Run
start_vnc_desktopand wait until resources are allocated and setup is complete. -
Open an additional terminal on your local machine and create an SSH port forward to the compute node:
Replace
<user>with the SSH user value and<server>with the VNC server value from thestart_vnc_desktopoutput. You will be logged into HoreKa 2, and the-Lparameter creates a port forward between your local system and the compute node, with the login node acting as a forwarder. Keep this SSH connection open for the duration of the VNC session. -
Start your VNC client and connect to
localhost:5901. When prompted for a password, enter the one-time VNC password shown under VNC Authentication in thestart_vnc_desktopoutput. -
Keep the SSH connection running until after you close the VNC client, otherwise the connection will drop.
If you are getting error messages like Connection refused from your VNC client or see messages like channel 3: open failed: connect failed: Connection refused, make sure that all parameters (<user>, <server>, port numbers) match the output of start_vnc_desktop.