Code Editors
NHR@KIT systems support several IDEs and code editors for remote development via SSH.
Agentic AI coding assistants are forbidden on login nodes
Many IDEs support AI coding assistants (GitHub Copilot, Cursor, Cline, etc.) that can autonomously run commands, edit files, and interact with the system — so-called agentic use.
AI agents generate significant load on login nodes and impact fair access and system stability for all users. Agentic AI use is therefore not permitted on login nodes per the login node usage policy.
Use the SSH tunnel to compute nodes to run AI agents on a dedicated compute node instead.
Visual Studio Code
Visual Studio Code (VS Code) is an open source code editor from Microsoft. It has become one of the most popular IDEs and can be extended with plugins for language support, debugging, and remote development. VS Code can be installed locally on Windows, macOS, and Linux.
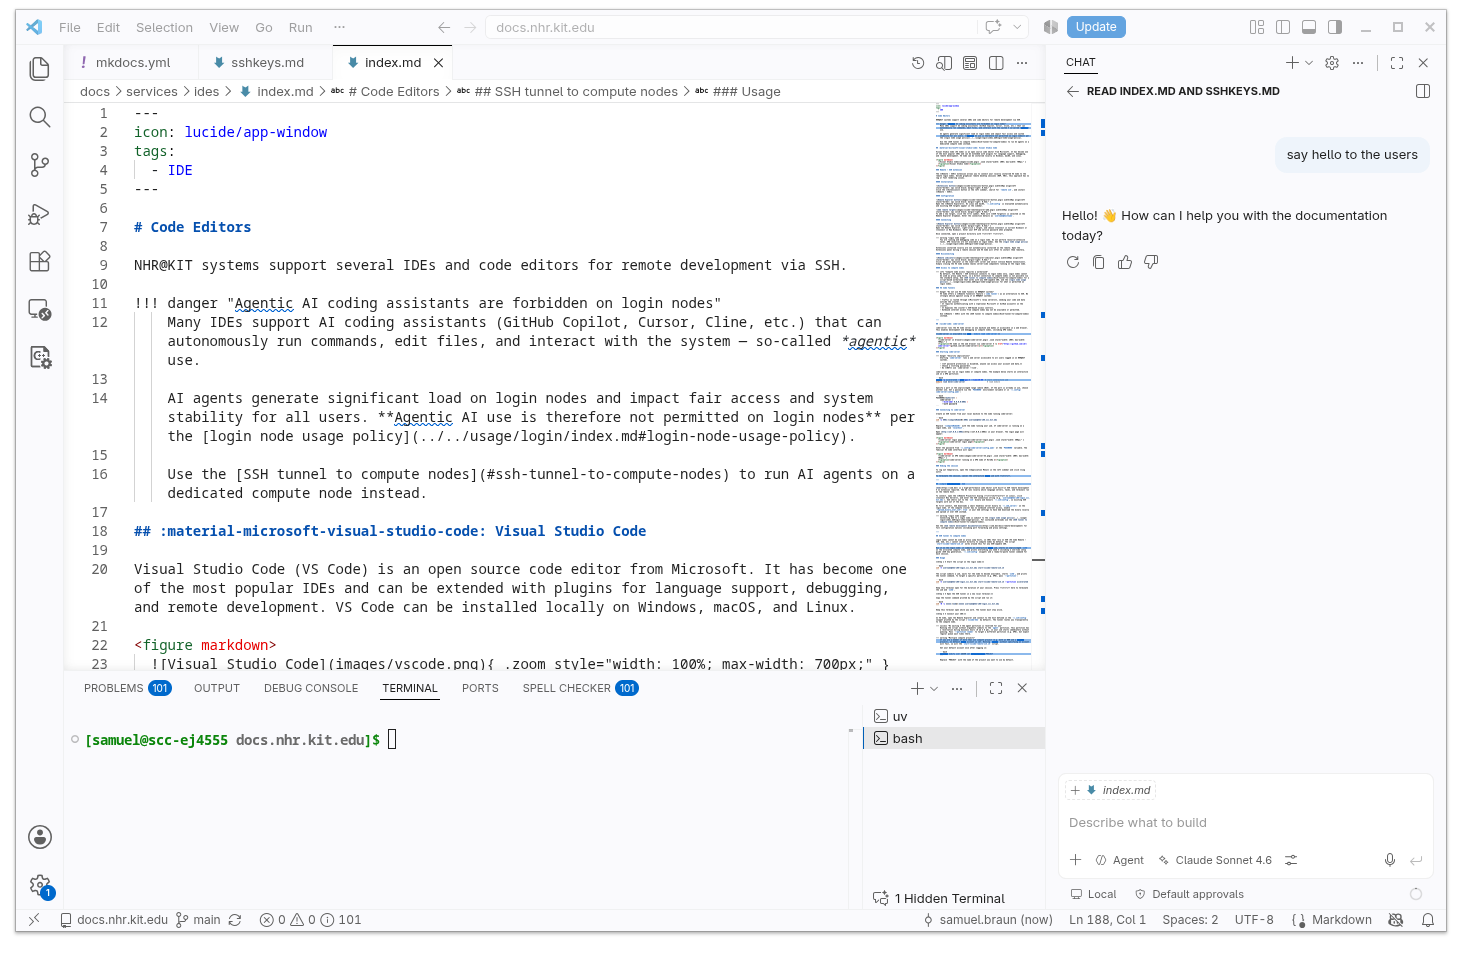
Remote - SSH extension
The Remote - SSH extension allows you to connect your locally installed VS Code to the remote login nodes. Unlike graphical remote desktop sessions (RDP, VNC), this approach has no lag or font rendering issues.
Installation
 Click the Extensions button in the left sidebar, search for
 remote ssh, and install Remote - SSH.
Configuration
 Open the Remote Explorer. On Linux and macOS,
 ~/.ssh/config is evaluated automatically and existing SSH targets appear in the sidebar.
 To add a new target, click the + symbol. Make sure SSH Targets is selected in the Remote Explorer dropdown. Enter the connection details as
 username@hostname.
Connecting
Open the Remote Explorer, right-click a target, and choose Connect in Current Window or Connect in New Window. Enter your OTP and service password when prompted.
Once connected, open a project directory with Ctrl+K Ctrl+O.
Login node usage
You are running and debugging code on a login node. Do not perform resource-intensive tasks. GPU resources are not available on login nodes. See the login node usage policy.
Extensions installed locally are not automatically installed on the remote. Open the Extensions panel during a remote session and VS Code will offer to install them remotely.
Disconnecting
 Click the green indicator in the lower-left corner and select Close Remote Connection. Simply closing the VS Code window leaves server-side components running on the login node.
Access to compute nodes
Compute node access requires a workaround
By default, the Remote - SSH extension connects to login nodes only. Login nodes cannot be used as proxy jump hosts, so a direct connection to compute nodes is not possible via the standard setup. See SSH tunnel to compute nodes for a script-based workaround that works with any SSH-capable IDE, and the login node usage policy for what is permitted on login nodes.
VS Code Tunnels
Do not use VS Code Tunnels on NHR@KIT systems
VS Code offers a Remote Tunnels feature (code tunnel) as an alternative to SSH. We strongly advise against using it on NHR@KIT systems:
- Traffic is routed through Microsoft's relay servers, sending your code and data outside the cluster.
- It requires authenticating with a personal Microsoft or GitHub account on the cluster.
- It bypasses the cluster's SSH-based access controls.
- Outbound internet access from compute nodes may not be available or permitted.
Use Remote - SSH with the SSH tunnel to compute nodes instead.
code-server
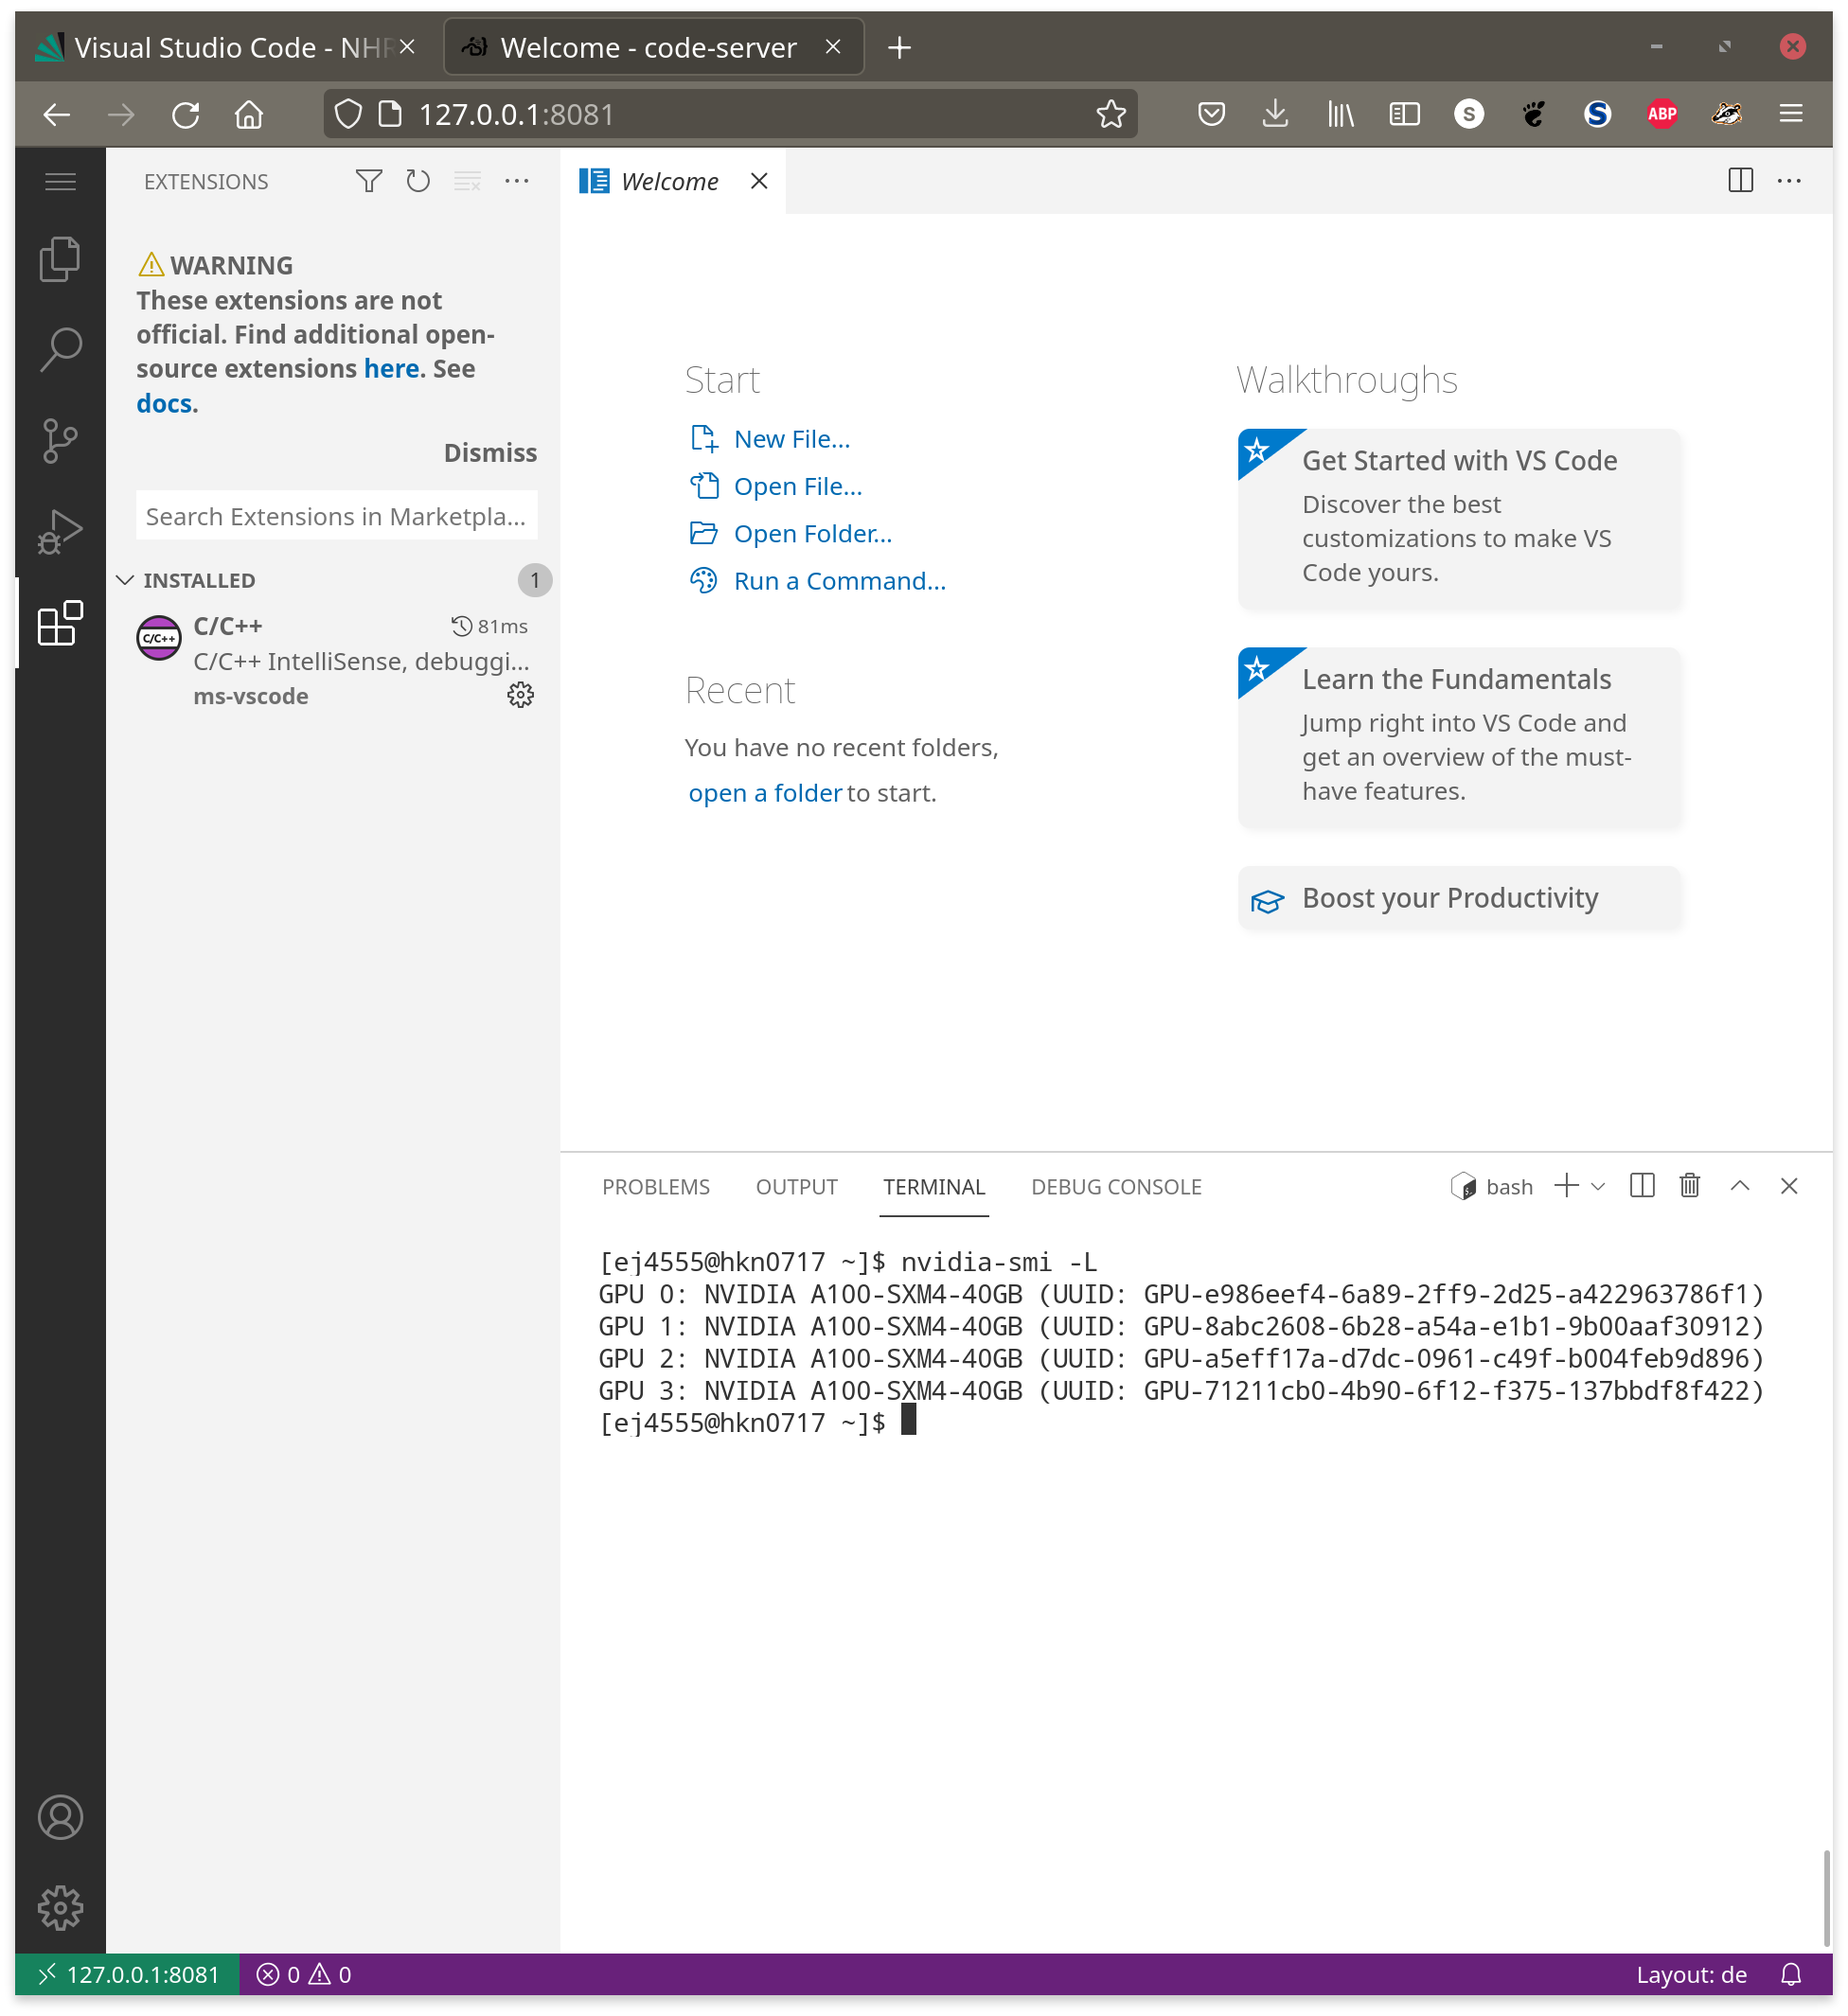
code-server runs the VS Code server on any machine and makes it accessible in a web browser. This enables development and debugging on compute nodes, including GPU nodes.
code-server is available via Lmod: module load code-server
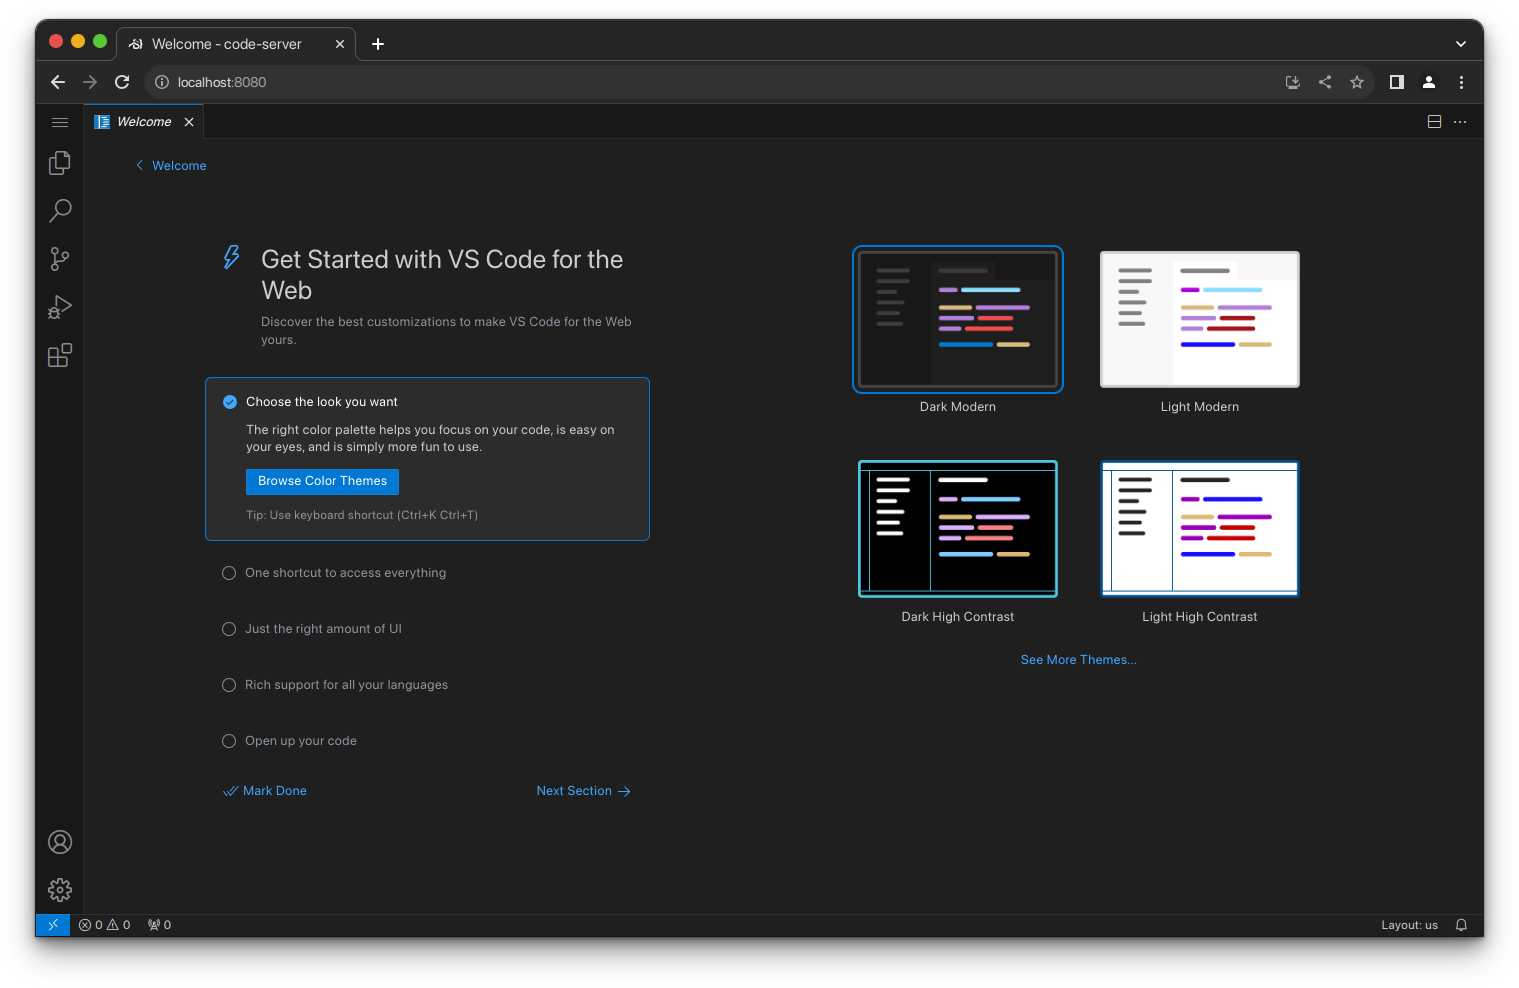
Starting code-server
Security implications
Starting code-server runs a web server accessible to all users logged in on NHR@KIT systems.
- If password protection is disabled, anyone can access your account and data.
- Choose a strong password.
- Do NOT use
code-server --link.
code-server can run on login nodes or compute nodes. The example below starts an interactive job on a GPU partition:
salloc -p accelerated --gres=gpu:4 --time=30:00  # start interactive job
module load code-server                            # load module
Specify a port in the unprivileged range (above 1024). If the port is already in use, choose another one. Set a password via the PASSWORD environment variable or in ~/.config/code-server/config.yaml:
Connecting to code-server
Create an SSH tunnel from your local machine to the node running code-server:
Replace <computeNodeID> with the node running your job. If code-server is running on a login node, use localhost.
Open http://127.0.0.1:8081 in your browser. The login page will appear:
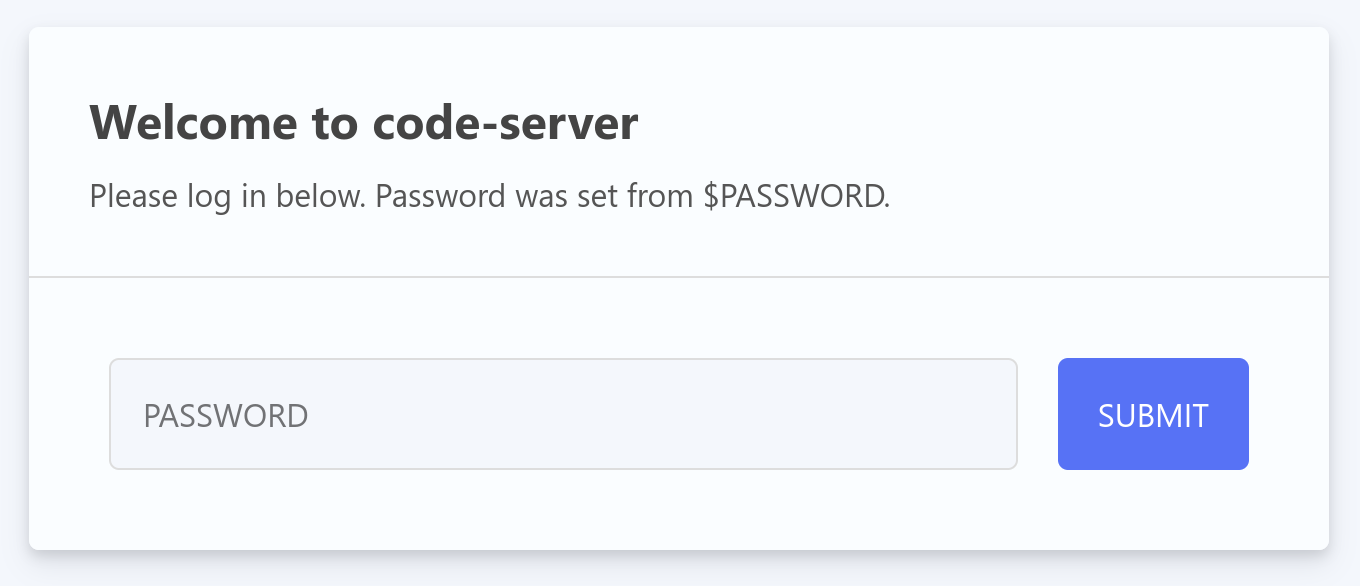
Enter the password from ~/.config/code-server/config.yaml or the PASSWORD variable. The familiar VS Code interface will open:
Ending the session
To log out temporarily, open the Application Menu in the left sidebar and click Log out.
To terminate the session, cancel the interactive Slurm job with Ctrl+C.
Zed
Zed is a high-performance code editor with built-in SSH remote development — no extension required. The UI runs locally while language servers, tasks, and terminals run on the remote host.
To connect, open the Remote Projects dialog (Ctrl+Shift+Alt+O on Linux), click Connect New Server, and enter the SSH connection string (e.g. username@hk2-x86-login.scc.kit.edu). Zed shells out to the ssh binary and honours ~/.ssh/config, so existing SSH targets work out of the box.
On first connect, Zed downloads a small headless server binary to ~/.zed_server/ on the login node. If the compute cluster has no outbound internet access, enable "upload_binary_over_ssh": true in your Zed settings to have Zed download the binary locally and upload it over SSH instead.
Login node usage
Connecting Zed to a login node is subject to the login node usage policy. For sustained workloads use the SSH tunnel to compute nodes.
See the Zed remote development documentation for full configuration options including port forwarding and proxy settings.
SSH tunnel to compute nodes
Login nodes cannot be used as proxy jump hosts, so IDEs that rely on SSH (VS Code Remote - SSH, Zed, etc.) cannot connect directly to compute nodes by default. The script start-vscode-remote-ssh.sh works around this for any SSH-capable IDE.
Run it on the login node: it submits an interactive Slurm job, starts an unprivileged sshd on the allocated compute node, and prints everything you need — including a one-time setup guide (SSH key generation, ~/.ssh/config snippet) and a ready-to-paste tunnel command for each session.
Usage
Step 1 — Start the script on the login node:
The script submits a job, waits for the node to become available, starts sshd, and prints the tunnel command. To target a specific partition (e.g. GPU), pass --partition:
ssh -t username@hk2-x86-login.scc.kit.edu start-vscode-remote-ssh.sh --partition gpu-h200 --gres=gpu:1
Keep this terminal open for the duration of your session. Press Ctrl+C here to terminate the job and sshd.
Step 2 — Open the SSH tunnel in a new local terminal:
Copy the tunnel command from the script output and run it (the node name and port are session-specific — the example below is for illustration only):
Keep this terminal open while you work. The tunnel must stay alive.
Step 3 — Connect your IDE:
In VS Code, open the Remote Explorer and connect to the host defined in the ~/.ssh/config snippet printed by the script (vscode-hk2 by default). The tunnel routes you transparently to the compute node.
To verify that everything is working as expected, simply type ssh vscode-hk2 in a local terminal. You should now be logged in to a compute node.
No waiting — use the agent partition
Running the script without arguments submits to the agent partition, which is dedicated to interactive IDE sessions and typically starts jobs immediately. Pass --partition <name> to target a different partition (e.g. GPU), but expect regular queue wait times there.
Multiple compute projects
If you are a member of more than one compute project (e.g. both an NHR and a HAICORE project), no default Slurm account is set. Running salloc without specifying an account will fail, so will the start-vscode-remote-ssh.sh script.
Set your default account once after logging in:
Replace PROJECT with the name of the project you want to use by default.